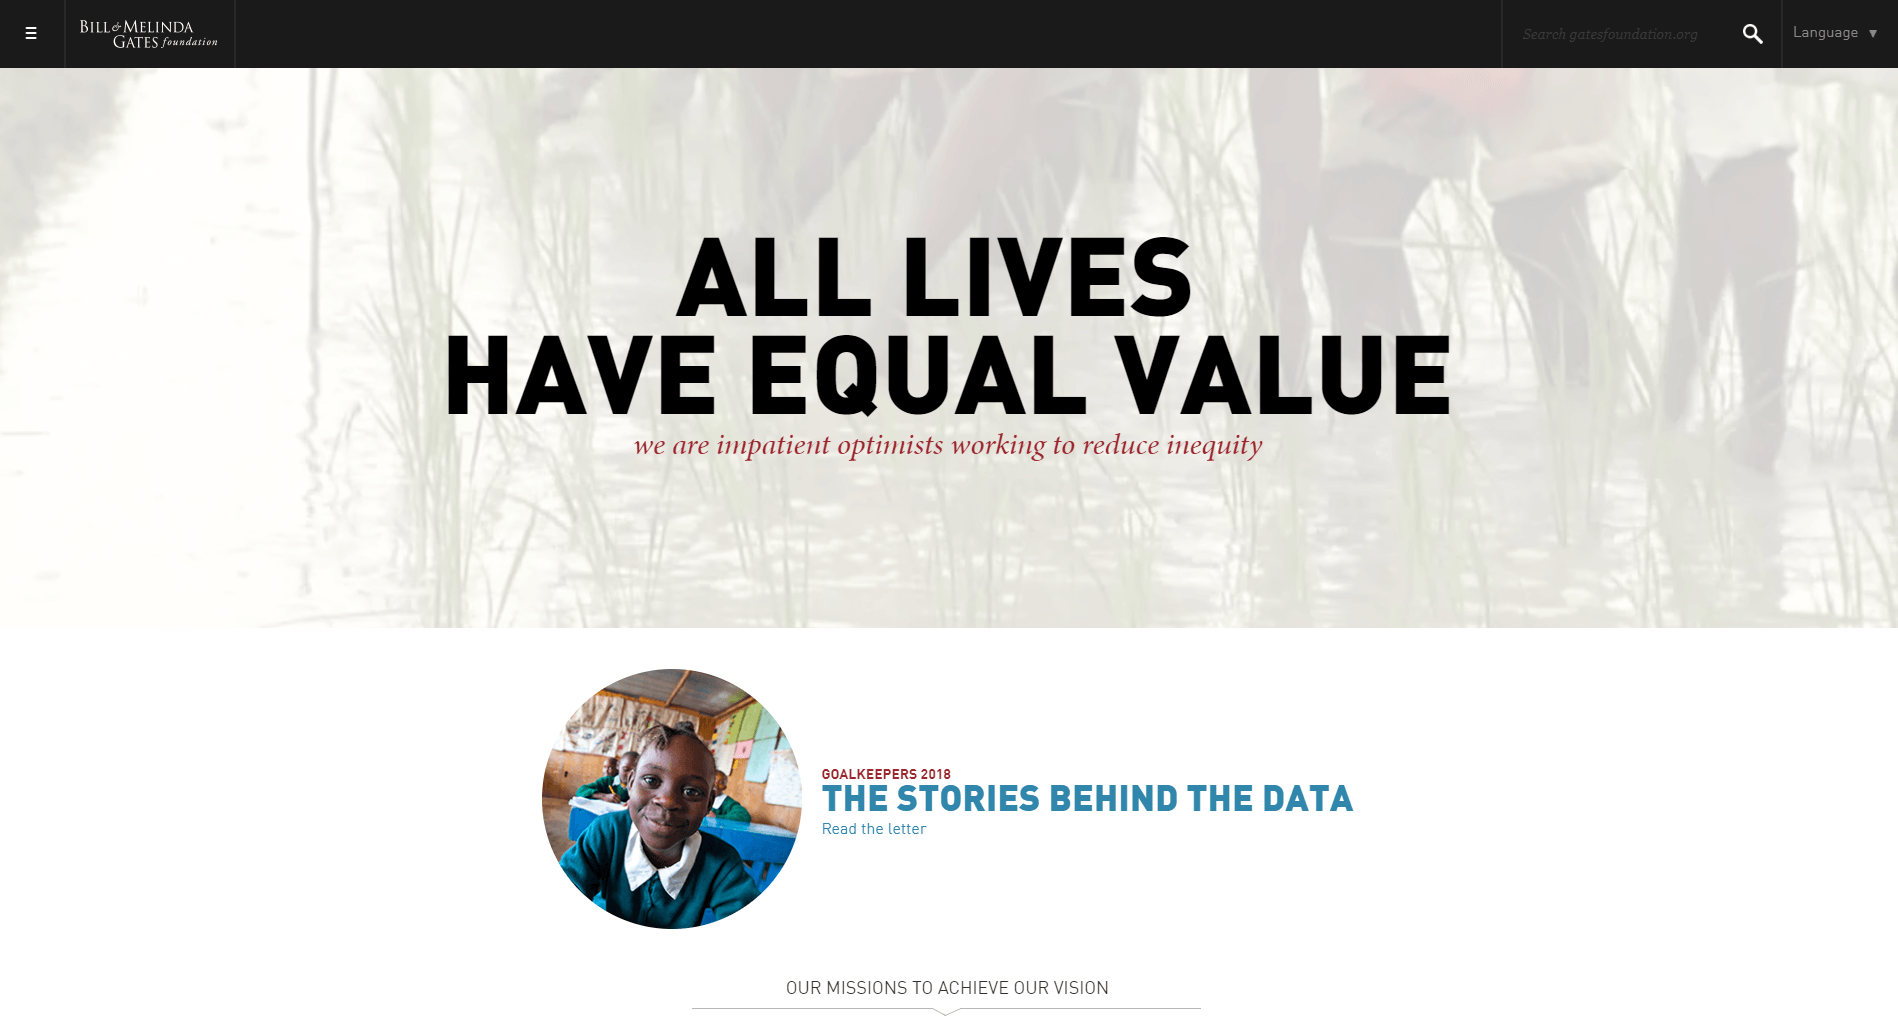
Nonprofits succeed or fail on the strength of their ability to communicate their message and build an audience. Creating a non-profit website plays a key role in helping your organization achieve both of those goals.
Building a website is a great way to get the word out about your nonprofit. You can use it to share information and updates, make a persuasive argument, and convince people to get involved. And with the right approach, it will cost a lot less than you might think.
The essential elements of a non-profit website
The way you set up and run your non-profit website will obviously be unique, based on your niche, goals, and resources. However, as you begin to plan out your site, there are a few things you’ll definitely want to include.
A strong non-profit website should have (at a minimum):
- A mission statement, telling visitors what you’re all about.
- Plenty of details on what you do and why it matters.
- A blog or news section, to keep people apprised of the most recent updates and successes.
- Contact information, so interested parties can get in touch.
- Headshots and bios for your organization’s key members, staff, or partners.
- Compelling imagery, incorporated throughout your site.
- A way to accept donations, if you solicit donations from the public.
- A Call To Action (CTA) prompting visitors to sign up for an email list, volunteer, donate, or do whatever matters most to your organization.
This may seem like a lot, but putting together a site encompassing all of these elements isn’t difficult. All you need are the right set of tools, along with a little time and patience.
How to build a non-profit website (in 6 easy steps)
As a non-profit organization, you likely don’t have a lot of time and money to spare. All the same, you want a website that’s attractive, functional, and easy to use. The following six steps will take you through the process of creating this type of site quickly and cheaply.
1. Choose a platform for your non-profit website
The first thing you need to do is select a platform to build your website with. There are many choices, but they largely fall into three camps. You can develop a website from scratch, sign up for a website builder, or use a Content Management System (CMS).
Unless you happen to have some talented developers already on board, creating a site from nothing is usually costly and time-intensive. Website builders, on the other hand, are cheap and simple to use. However, they don’t offer much flexibility, nor do they give you much control over your site.
A CMS is the perfect middle ground. This type of platform is typically open-source, which means you can download the software and use it to build your non-profit website for free. What’s more, a quality CMS will provide an easy-to-use interface that lets you customize your site without any technical know-how.
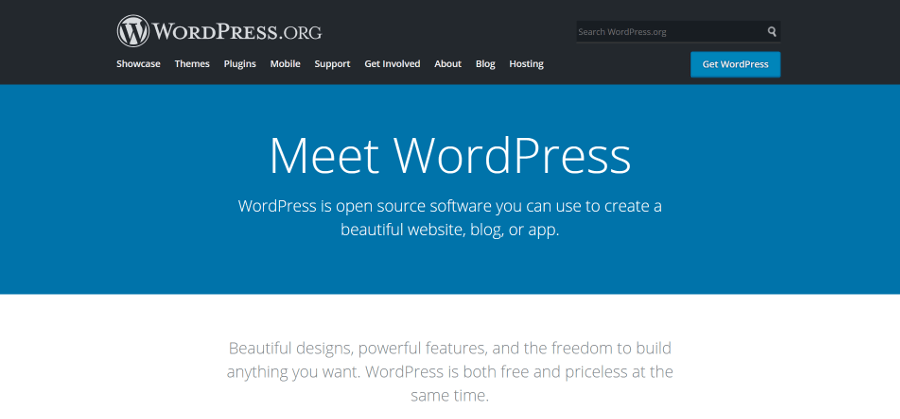
For a non-profit site, we’d highly recommend WordPress:
This CMS is beginner-friendly and has a large community willing to help whenever you run into difficulties. Most importantly for your non-profit website, it’s free and won’t require you to hire a developer.
2. Purchase a hosting plan and domain name
WordPress may be free to use, but building your non-profit website involves a few small costs. You’ll need to register a domain name and select a hosting plan.
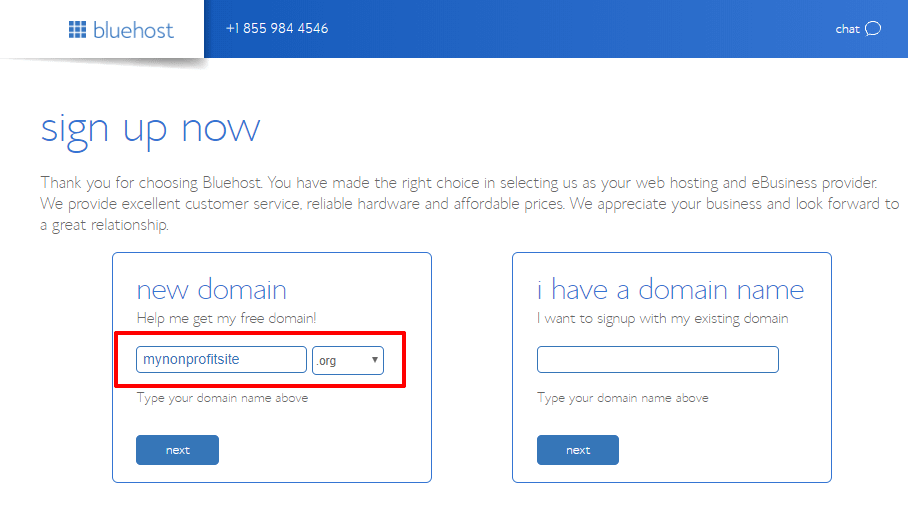
The domain name is your site’s primary URL (i.e., mynonprofitsite.org). When deciding on a domain name, you’re best off naming the site after your organization, or using a short, catchy phrase that summarizes your mission, as in saveourlibraries.org.
You’ll also need to choose a Top Level Domain (TLD), such as .com or .net. We’d highly recommend using .org, as people are still more likely to trust non-profit organizations using this TLD. If your budget allows, however, you may also want to purchase the .com version of your domain name and redirect it to your site.
In order to get your site online, you’ll also need to sign up for a hosting plan, which is the “engine” that powers your site and makes it available to other people – Bluehost is a good option when you’re just getting started. Another benefit of Bluehost is that it gives you a free domain name, which you can choose during the signup process.
Bluehost will also help install WordPress for you, which means that you can get started customizing your website right away.
3. Pick out a theme to style your site
By this point, you should have a basic WordPress site up and running. Now, you’ll want to give it a design that showcases your non-profit’s mission. Fortunately, this is a task you can ‘fast track’ by choosing the right WordPress theme.
In a nutshell, your site’s theme controls how your site looks and is visually structured. This means that even if you’re not a designer, you can select the style and appearance you want.
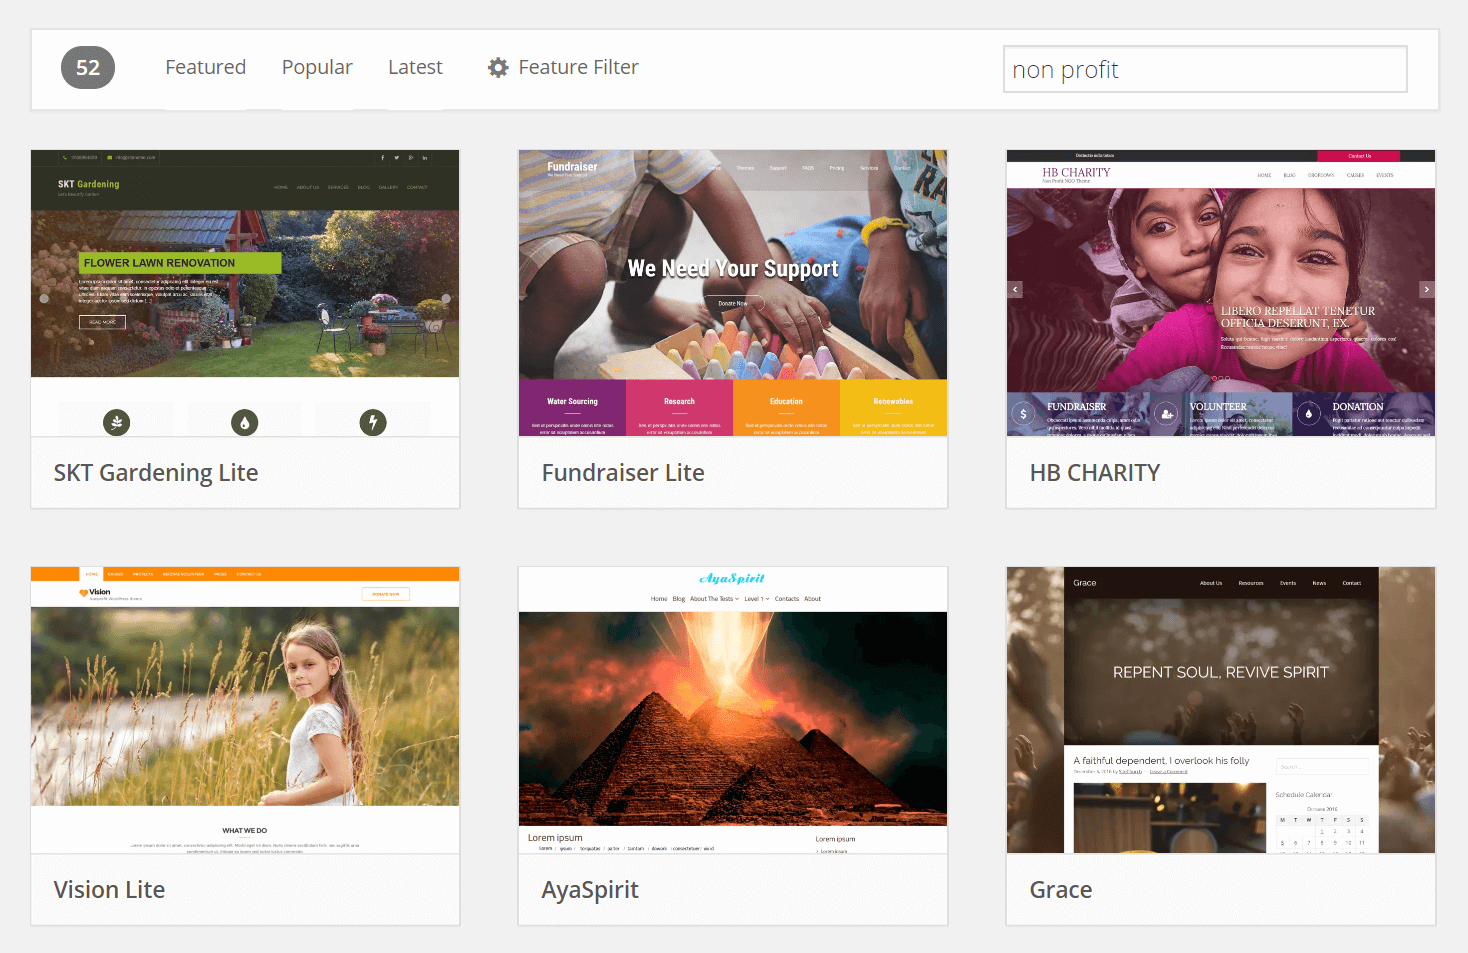
What’s more, there are a lot of themes designed specifically for non-profit sites. This means the style, layout, and elements are customized to match the needs of organizations like yours. Some even come with multiple templates or demo pages, each designed to match a particular type of non-profit organization.
You can choose from many free options in the WordPress Theme Directory, merely by searching for themes with the keyword “non profit” (or “nonprofit”):
If you have the budget, you may also want to check out some premium non-profit themes as they’re often a little more flexible. General business themes often work well, too.
4. Build your site’s basic pages
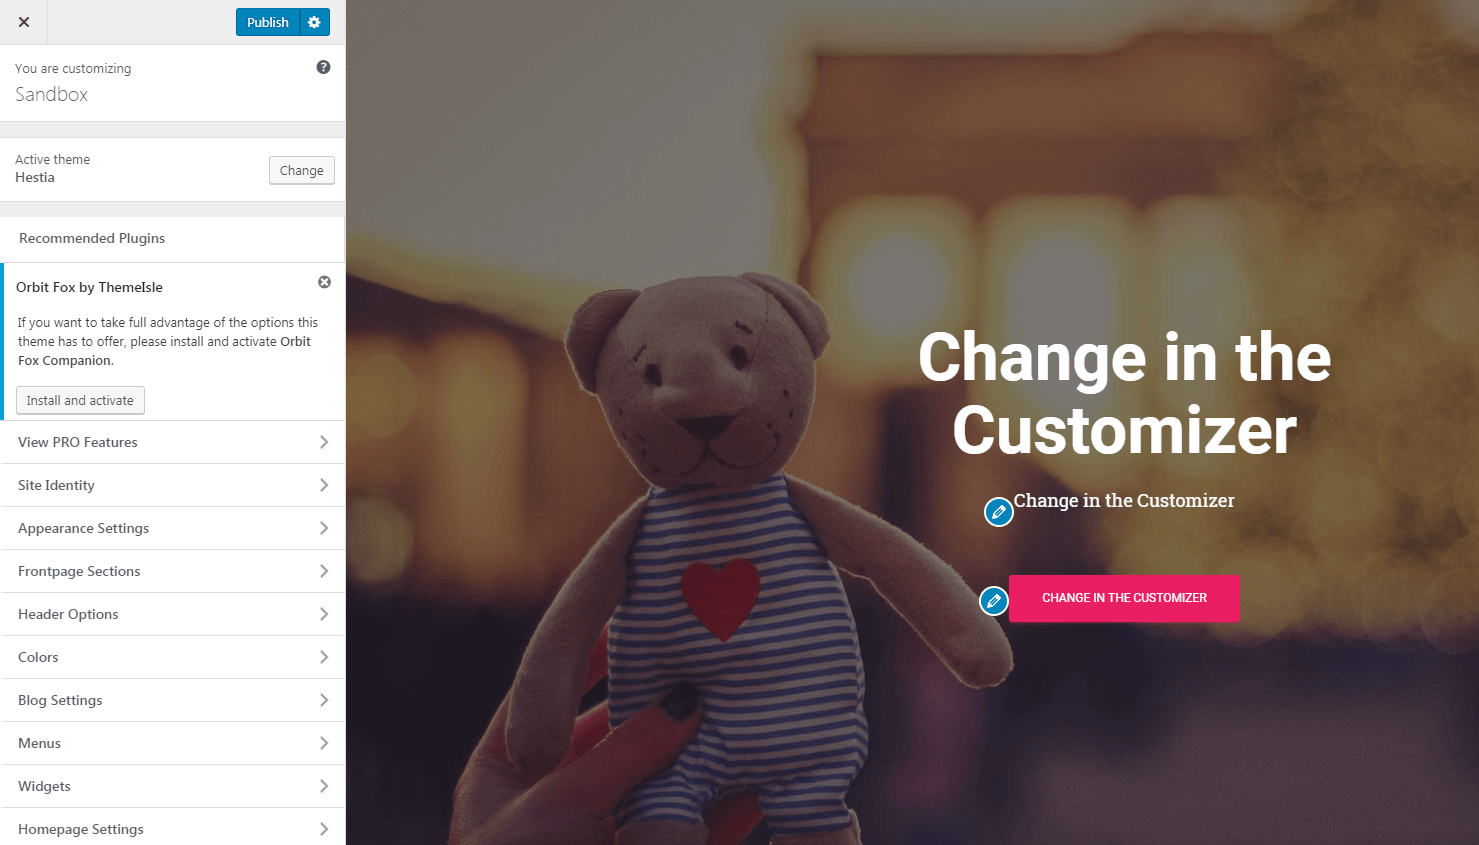
Once you’ve installed your chosen theme, you’ll want to take some time to customize it. This means adding your own imagery and branding, as well as tweaking the style and design to fit your organization. How you do this will vary by theme, but the best place to start is by visiting the WordPress Customizer via your site’s dashboard:
Next, you’ll want to create the basic pages that will make up your website. Building a page in WordPress is straightforward, and your theme will probably give you plenty of demo content to work with. At a minimum, you’ll want to include the following pages:
- A home page that lets visitors know what your organization is all about (preferably with a strong mission statement and lots of visuals).
- An easy-to-find contact page, with multiple ways to get in touch.
- One or more pages providing information about what your organization does and why it matters.
- An ‘archive’ page to host your blog or news updates.
- A page featuring your organization’s key members or partners, with headshots and bios if possible.
Of course, don’t forget to add in that vital CTA. This could be a donate button, a newsletter sign-up form, or a volunteer application. Just make sure it’s prominently placed and stands out from the rest of your site.
If you want a little bit more flexibility over how your pages look, a WordPress page builder plugin will let you design your pages using a visual, drag-and-drop editor.
5. Consider a donation plugin
We mentioned that word “plugin” above. Whereas themes change how your site looks, plugins help you add functionality to your site.
You can find plugins for all sorts of things, but one of the most helpful for a non-profit site is a donation plugin. These plugins will help you accept donations and run fundraising campaigns. Beyond that, they will also help you manage donors, including an easy-to-access database, as well as the ability to generate the tax forms donors need.
One of the most popular donation plugins is the GiveWP plugin:
If you’d like to learn more, we have an entire post on how to accept donations on WordPress.
6. Optimize your site for search engines
Last but not least, you’ll need to consider how people will find your non-profit website. Primarily, this will happen through search engines, which means carrying out some Search Engine Optimization (SEO).
This is essentially a collection of techniques to help your site rank highly in search engines. What’s worth noting is that for a non-profit website (particularly for a smaller, locally-based operation), ‘local SEO’ will likely play a significant role. This involves optimizing your site to show up in searches by people who are physically nearby.
To get started with optimizing your site, we’d recommend first installing the free Yoast SEO plugin on your site, and learning how to use it:
This simple, yet powerful tool will help you cover the basics of solid SEO. In addition, its developers also offer a comprehensive series of articles on local SEO, with plenty of practical advice.
While SEO can be a complicated subject, you don’t need to be a master to benefit from it, and even learning just the basics will pay big dividends for your organization.
Conclusion
For many nonprofits, success depends largely on their ability to attract attention and build a following online. Your non-profit website will play a key role in that process, serving to both inform your audience and encourage them to take action.
Putting together a non-profit website that’s both stylish and functional is surprisingly easy. You’ll just need to:
- Choose a platform for your non-profit website.
- Purchase a hosting plan and domain name.
- Pick out a theme to style your site.
- Build your site’s basic pages.
- Consider whether you need a donation plugin.
- Optimize your site for search engines.
Do you have any questions about how to build your non-profit website? Ask away in the comments section below!
Free guide
5 Essential Tips to Speed Up
Your WordPress Site
Reduce your loading time by even 50-80%
just by following simple tips.
Download free guide
* This post contains affiliate links, which means that if you click on one of the product links and then purchase the product, we’ll receive a small fee. No worries though, you’ll still pay the standard amount so there’s no cost on your part.




Or start the conversation in our Facebook group for WordPress professionals. Find answers, share tips, and get help from other WordPress experts. Join now (it’s free)!